Another “all business” post that has been sitting in Evernote for months. Enjoy!
Assume Asterisk is running on localhost and Apache is installed and running with /var/www at the htdocs directory
http.conf changes:
- Set “enabled=yes” OR uncomment “;enabled=yes”
- Set “bindport=8088” OR uncomment “;bindport=8088”
sip.conf changes:
- Get the SIP code listening via TCP – set “tcpenable=yes”
- Add web socket support for SIP – set “transport=udp,ws” OR add “,ws” to existing transport list
- Uncomment xlite1 account
- Add “avpf=yes” to xlite1 account
- Add “icesupport=yes” to xlite1 account
Steps to perform test call:
- Restart Asterisk
- Get the source from Subversion
1
| |
- Move the sipml5 source into /var/www
- Open Chrome and point it to the SIPML5 index.html in /var/www (or the subdirectory you put it in)
- Click “Enjoy our live demo”
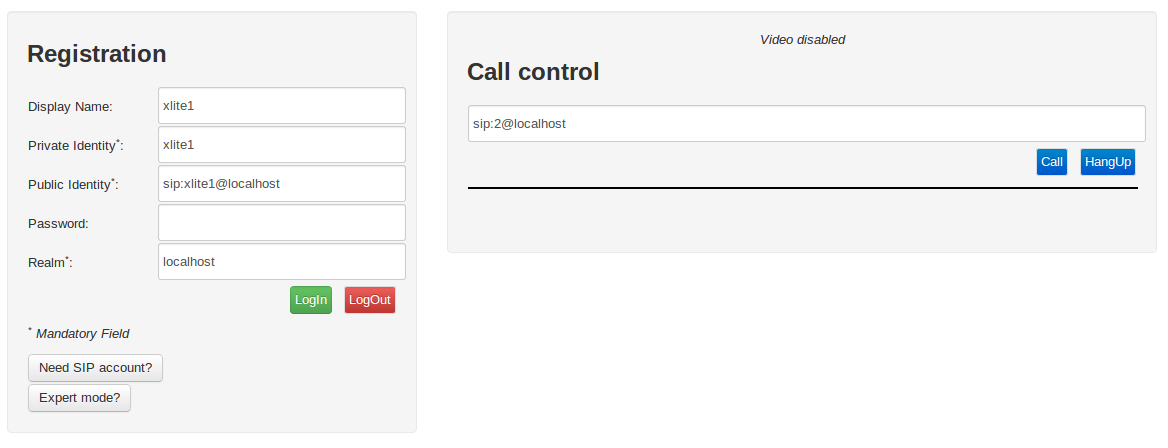
- Set these values in the “Registration” panel
- Display Name: xlite1
- Private Identity: xlite1
- Public Identity: sip:xlite1@localhost
- Realm: localhost
- Password is left blank
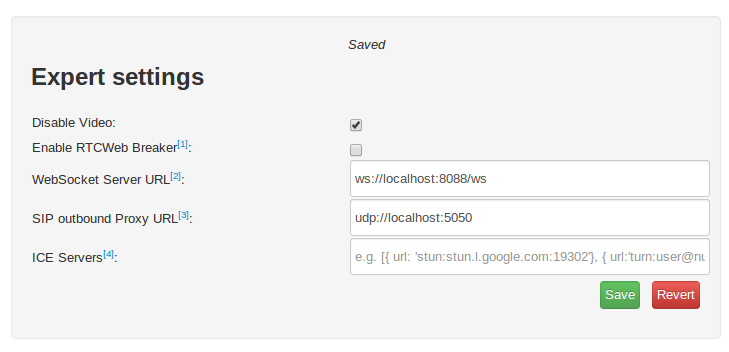
- Click “Expert Mode”
- Set these values in “Expert settings”
- Disable Video: Checked
- Enable RTCWeb Breaker: Unchecked
- WebSocket Server URL: ws://localhost:8088/ws
- SIP outbound Proxy URL: udp://localhost:5060
- Click “Save”
- Close “Expert settings” tab
- Enter “sip:2@localhost” in the “Call control” field
- Click “Call”
At this point you should hear audio coming from Asterisk in a few seconds and your first call is complete. Now you can build out your server as you’d want!
Here are some screenshots of the SIPML5 settings just in case you want to visually double-check.